Adopting a digital font for letterpress printing
For my most recent uni project I designed a display typeface and adopted it for traditional letterpress. Since I only had four weeks to do it, I developed process that is cheap, easy to execute and only uses basic tools and equipment.
Material
- 3mm Acrylic (About £16 for an A2 sheet)
- 18mm MDF board (about £7)
- 3mm Greyboard for padding (about £2)
- PVA (about £5)
- Pencil, Masking tape, metal ruler
Tools
- Laser Cutter
- Bandsaw (Alternatively an electric Jigsaw)
- Illustrator CC
Drawing the Typeface
I assume at this point you have either drawn or picked out the typeface you’ll adapt for letterpress. Generally simpler, solid shapes will be easier to work with.
 For my project I drew this 19th century-style display type.
If you're using typeface with very thin strokes or sharp serifs it might be worth doing a test on the laser cutter. You might have to increase the scale or pick a heavier weight to get a decent quality cut. Once you're sure the typeface will work, you can start preparing the alphabet to be cut.
Getting ready for the Laser cutter
 This is one of two vector files I sent to the laser cutter.
Laser cutters usually work with standard Illustrator files (but make sure to check with your technician). Make sure you convert the letters to outlines before you send them off.
Since acrylic sheet isn’t exactly cheap, you want to try and fit as many letterforms as possible on one sheet. There is software to do this, but it can take a lot of processing power to get to a decent result.
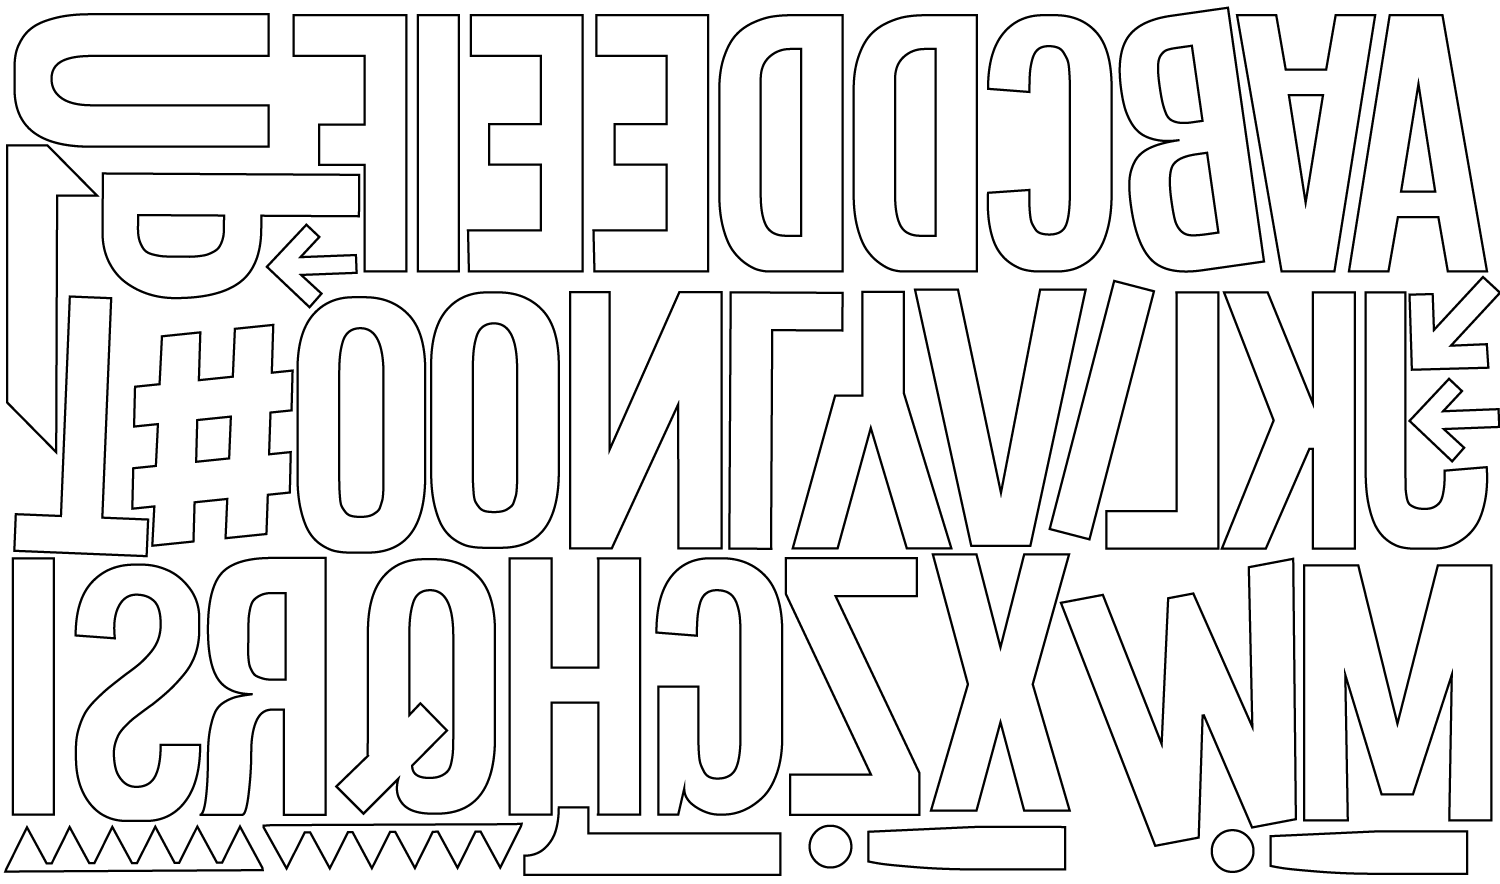
I ended up just setting an Illustrator artboard to the size of my acrylic sheet and arranging the letters by hand. Once that’s done, remember to flip the letterforms - they will come out the right way once you print them.
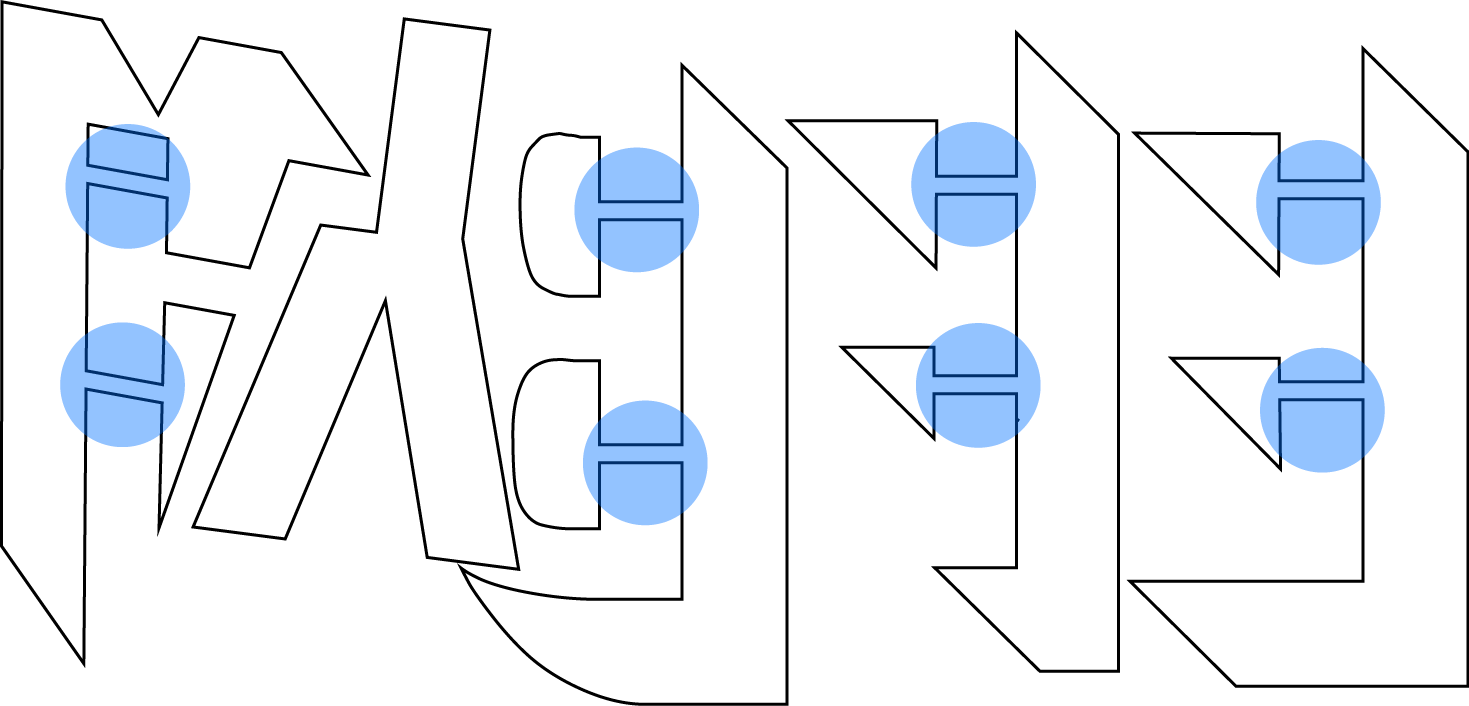 Highlighted sections were added so the letters stay together in one piece.
If your typeface has disconnected parts - like this shadow variant I made - you might want to consider adding some “bridges” so they won’t fall apart when they come out the laser cutter. Once the type is mounted you can easily file some material off the bridges so they won't show up in print.
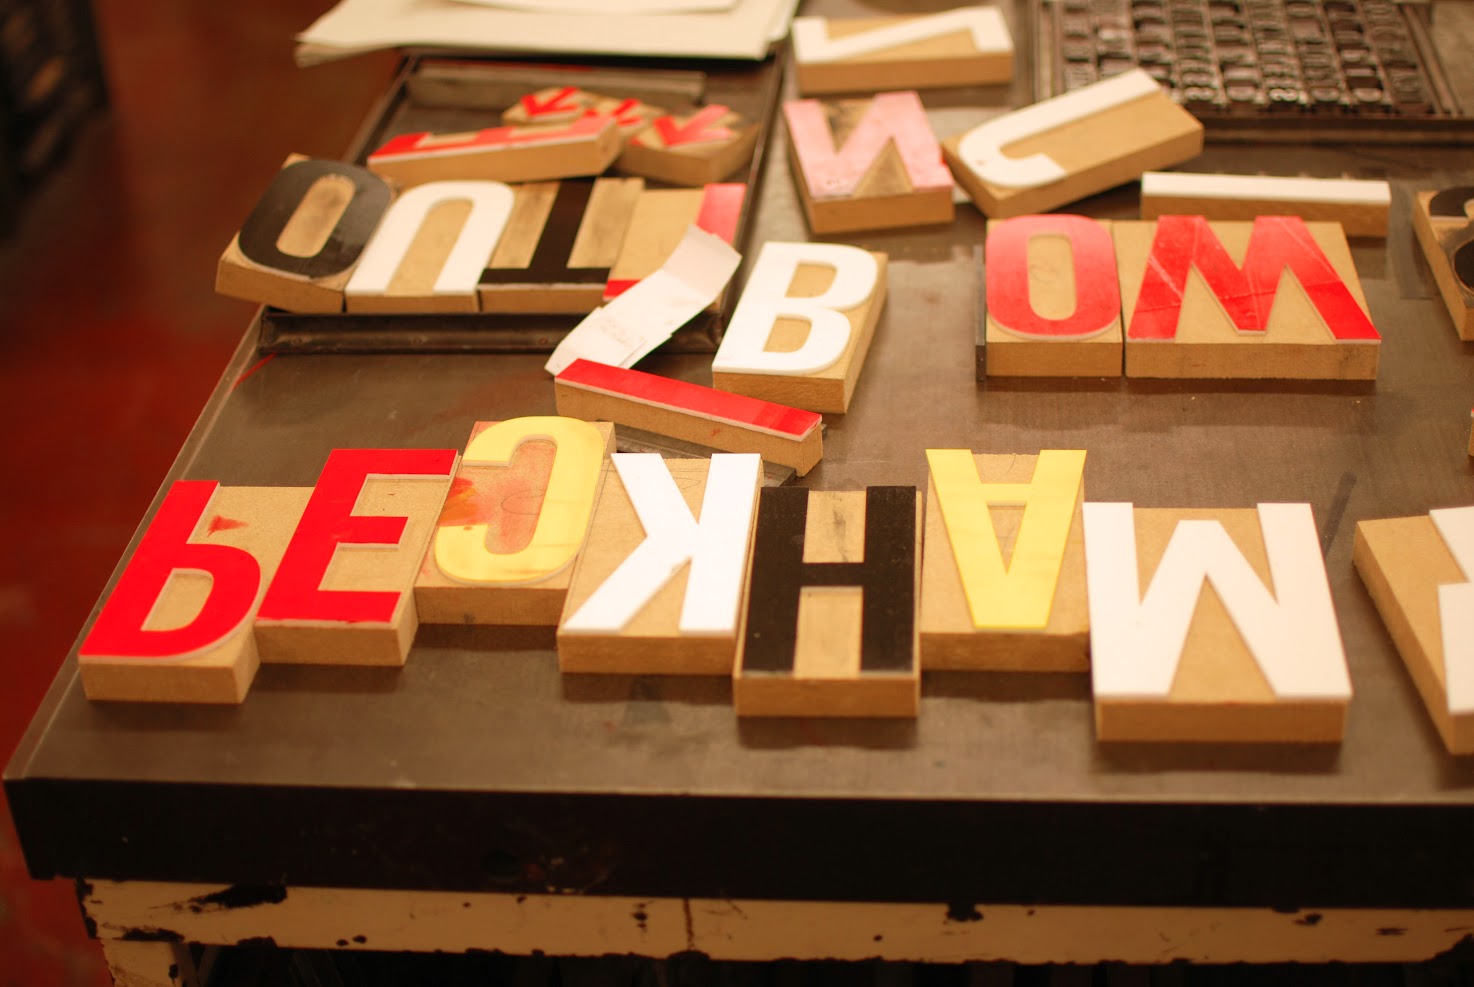
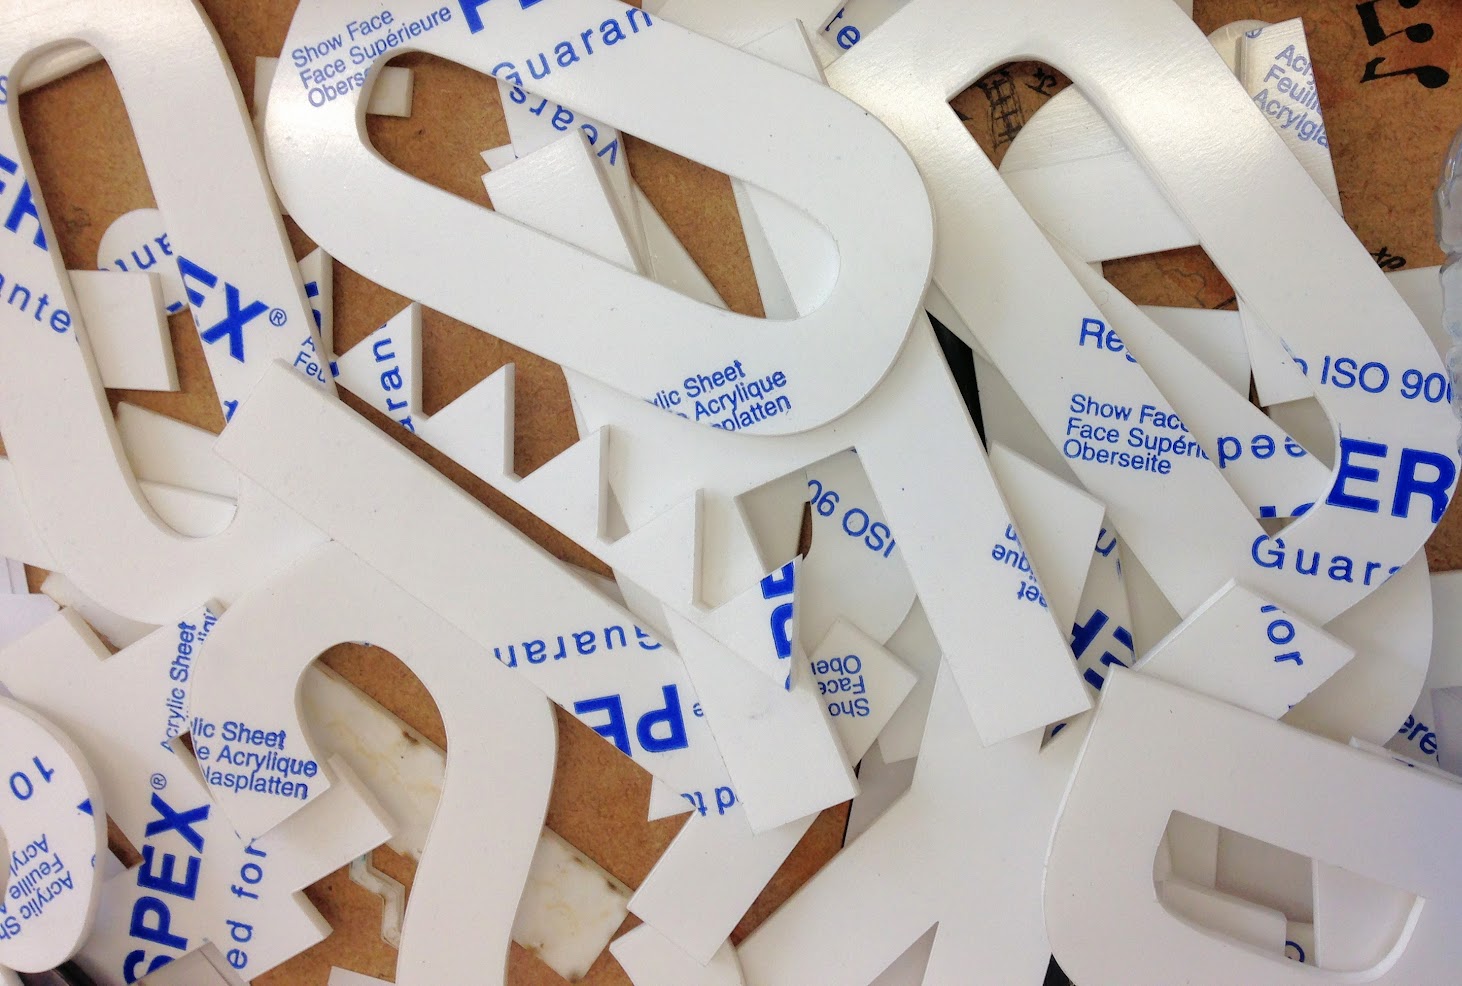 Letters fresh out the laser cutter, ready to be mounted.
Get your file to the laser cutter, start the machine and wait! In my case it took about an hour to complete 30 letterforms. If your acrylic sheet has protective film on it, it's best to leave it until you're ready to print.
Mounting
For our letters to be usable in letterpress (together with regular letterpress type) we’ll have to bring the face up to 23.3mm - this is called type high. (I should say that if you're outside the United Kingdom, the US or Canada you might need a different height - check with your letterpress technician.)
To get to that height, we’ll stack a few different materials: Our 3mm acrylic letters, 18mm MDF, 3mm Greyboard and some scrap paper will bring us close enough to 23.3mm. We can always adjust the press to compensate as well.
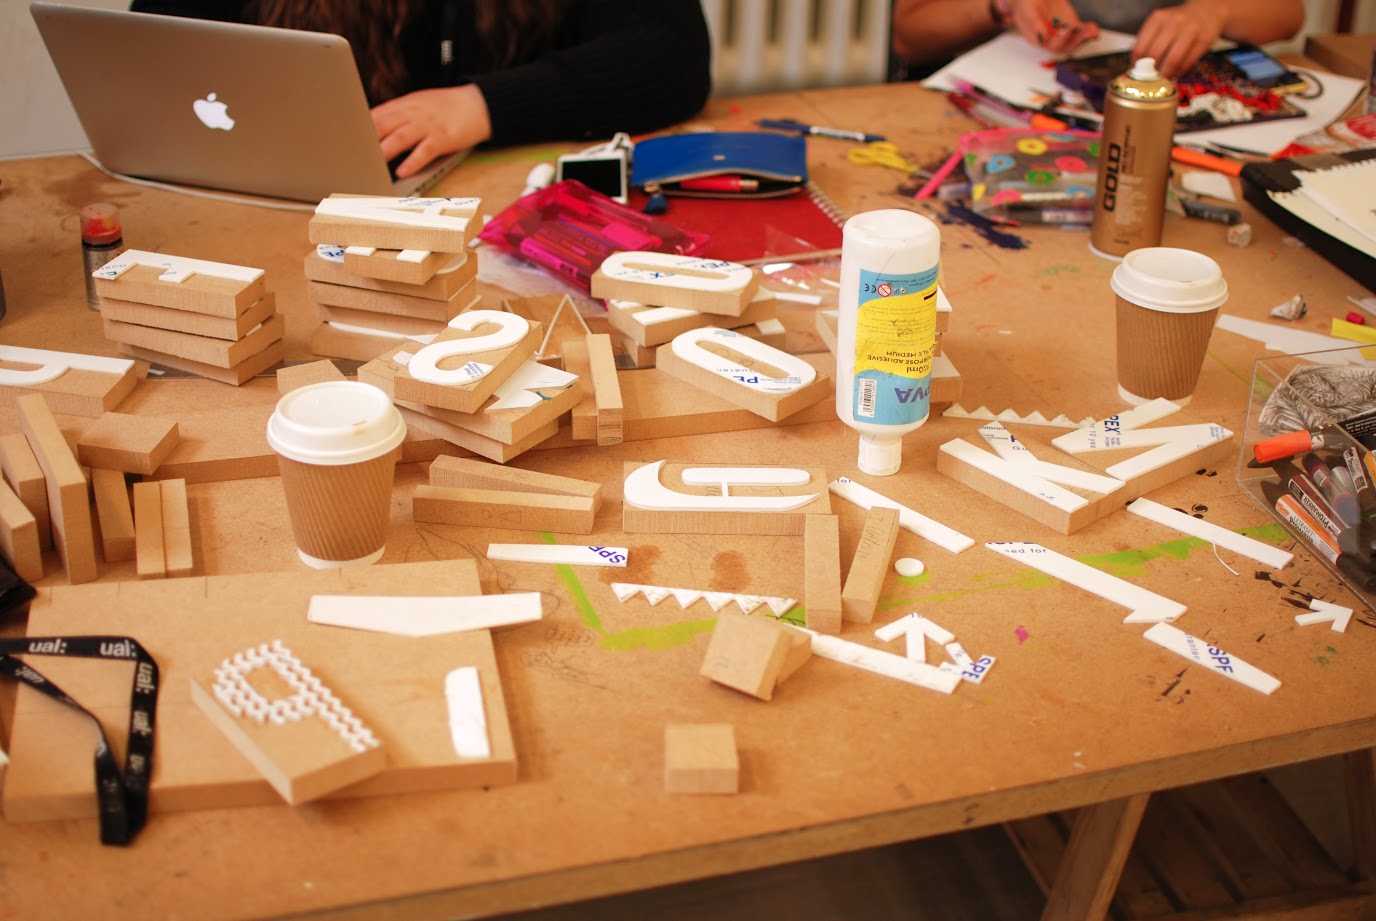
First, lay out all the acrylic letters on the MDF board. Draw a rectangle around each letter, but leave about 2mm of space on each side. This is to compensate for the material we’ll lose on the bandsaw.
Once you have all the outlines, make sure you indicate which rectangle belongs to which letter. Then take the letters off cut out the MDF blocks on the bandsaw.
Next, glue the acrylic letters on the right MDF blocks - I found that regular PVA works fine, but contact cement would probably be a bit more permanent. Let the glue set overnight before you peel the protective film off the letters.

You could repeat this process and stick a piece of greyboard underneath each letter to get close to type high. Since I had limited time, I just laid on big sheet of greyboard on the bed of the printing press.
Printing
From this point, it’s just normal letterpress! Note the crisp edges and minimal texture the acrylic creates - almost like type metal. MDF or plywood (which can also be lasercut) give you a slightly more textured look.
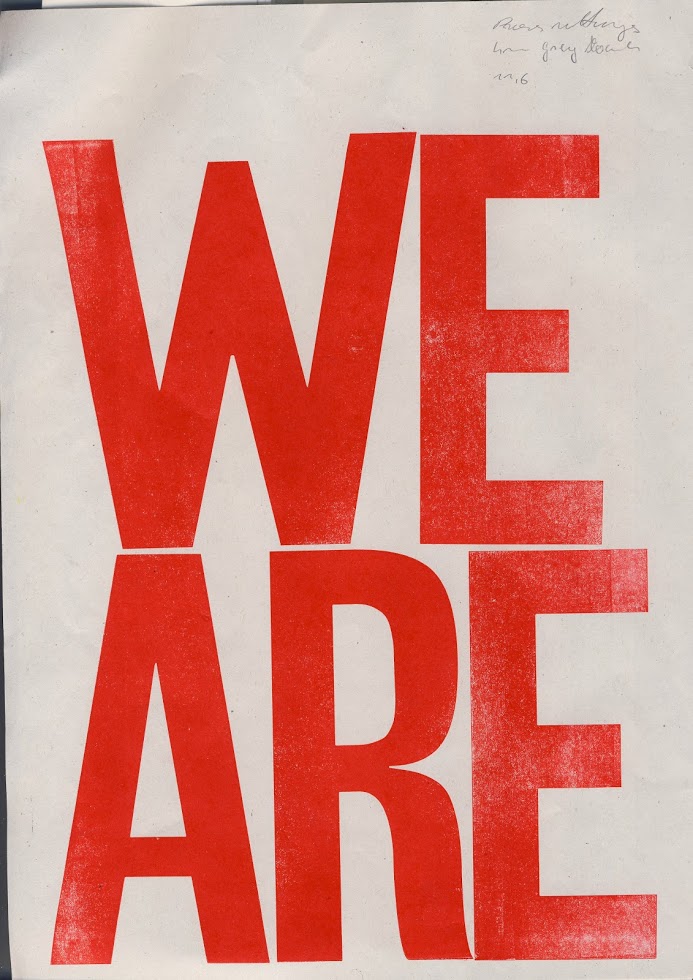 One of the first type samples I printed. Here's some more
Like I said at the start, this process is by no means perfect. But I hope it can be a starting point for your project - if you decide to try this, let me know! I'd love to hear what you learn along the way.