Running a screenshotting service on my NAS
For a while, I've been looking for an automated method to load up a list of websites, take a screenshot of each one and save it somewhere convenient.
There are many ways of doing this, but doing it on a NAS is nice because 1) I have one already, so I'm not incurring any extra costs 2) it'll run arbitrary code with few restrictions and 3) it's where I would want to store the screenshots anyway. After some experimentation, I got this to work in three steps.
1. Write the screenshotting script
The actual screenshotting program is a pretty short. It launches Google Chrome using puppeteer, loops over a list of URLs, takes a screenshot of each one and saves it to the ./output directory. I wrote this in Node because it was convenient, but you could do the same in any other language.
index.js
import puppeteer from "puppeteer"
import * as fs from "fs"

const urls = { example: "https://example.com/" }

async function run() {
  const browser = await puppeteer.launch({ args: ["--no-sandbox", "--disable-setuid-sandbox"] })

  const page = await browser.newPage()
  await page.setViewport({ width: 1800, height: 1350 })

  for (let [key, url] of Object.entries(urls)) {
    console.log(`Loading ${key} (${url})...`)

    const outputDir = `./output/${key}`
    const outputPath = `${outputDir}/${key}-${ts}.png`

    fs.mkdir(outputDir, { recursive: true }, (err) => {
      if (err) {
        throw err
      }
    })

    await page.goto(url, { waitUntil: "networkidle2" })
    await page.screenshot({ path: outputPath })
  }

  await browser.close()
}

await run()
2. Containerise it
The correct™ way to deploy a service like this is package our code and all of its dependencies in a Docker container using a configuration file called Dockerfile. Mine looks like this:
Dockerfile
FROM node:23-slim

RUN apt-get update \
	&& apt-get install -y wget gnupg \
	&& wget -q -O - https://dl-ssl.google.com/linux/linux_signing_key.pub | apt-key add - \
	&& sh -c 'echo "deb [arch=amd64] http://dl.google.com/linux/chrome/deb/ stable main" >> /etc/apt/sources.list.d/google.list' \
	&& apt-get update \
	&& apt-get install -y google-chrome-stable fonts-ipafont-gothic fonts-wqy-zenhei fonts-thai-tlwg fonts-kacst fonts-freefont-ttf libxss1 \
	--no-install-recommends \
	&& rm -rf /var/lib/apt/lists/*

ENV PUPPETEER_SKIP_CHROMIUM_DOWNLOAD=true

WORKDIR /home/appuser
COPY ./package.json .
COPY ./index.js .

RUN npm i  \
	&& groupadd -r appuser && useradd -r -g appuser -G audio,video appuser \
	&& mkdir -p /home/appuser/Downloads \
	&& chown -R appuser:appuser /home/appuser

USER appuser

CMD ["node", "index.js"]
This is adapted from the example in the puppeteer documentation and does roughly the following:
- Set the base image to
node:23-slim, which gives us access tonodeandnpm - Install Google Chrome and its dependencies using
apt-get. - Copy our script and our
package.jsonfile to the working directory - Set
PUPPETEER_SKIP_CHROMIUM_DOWNLOAD=trueto avoid installing another copy of Chrome, then runnpm install - Run
groupaddto add a non-privileged user to run our service because not doing that is a security risk - Switch to that user and start our script
I used docker build --platform linux/amd64 --tag screenshotter . to build the container, then docker save -o ./screenshotter screenshotter:latest to write it to an image file.
3. Run it on the NAS
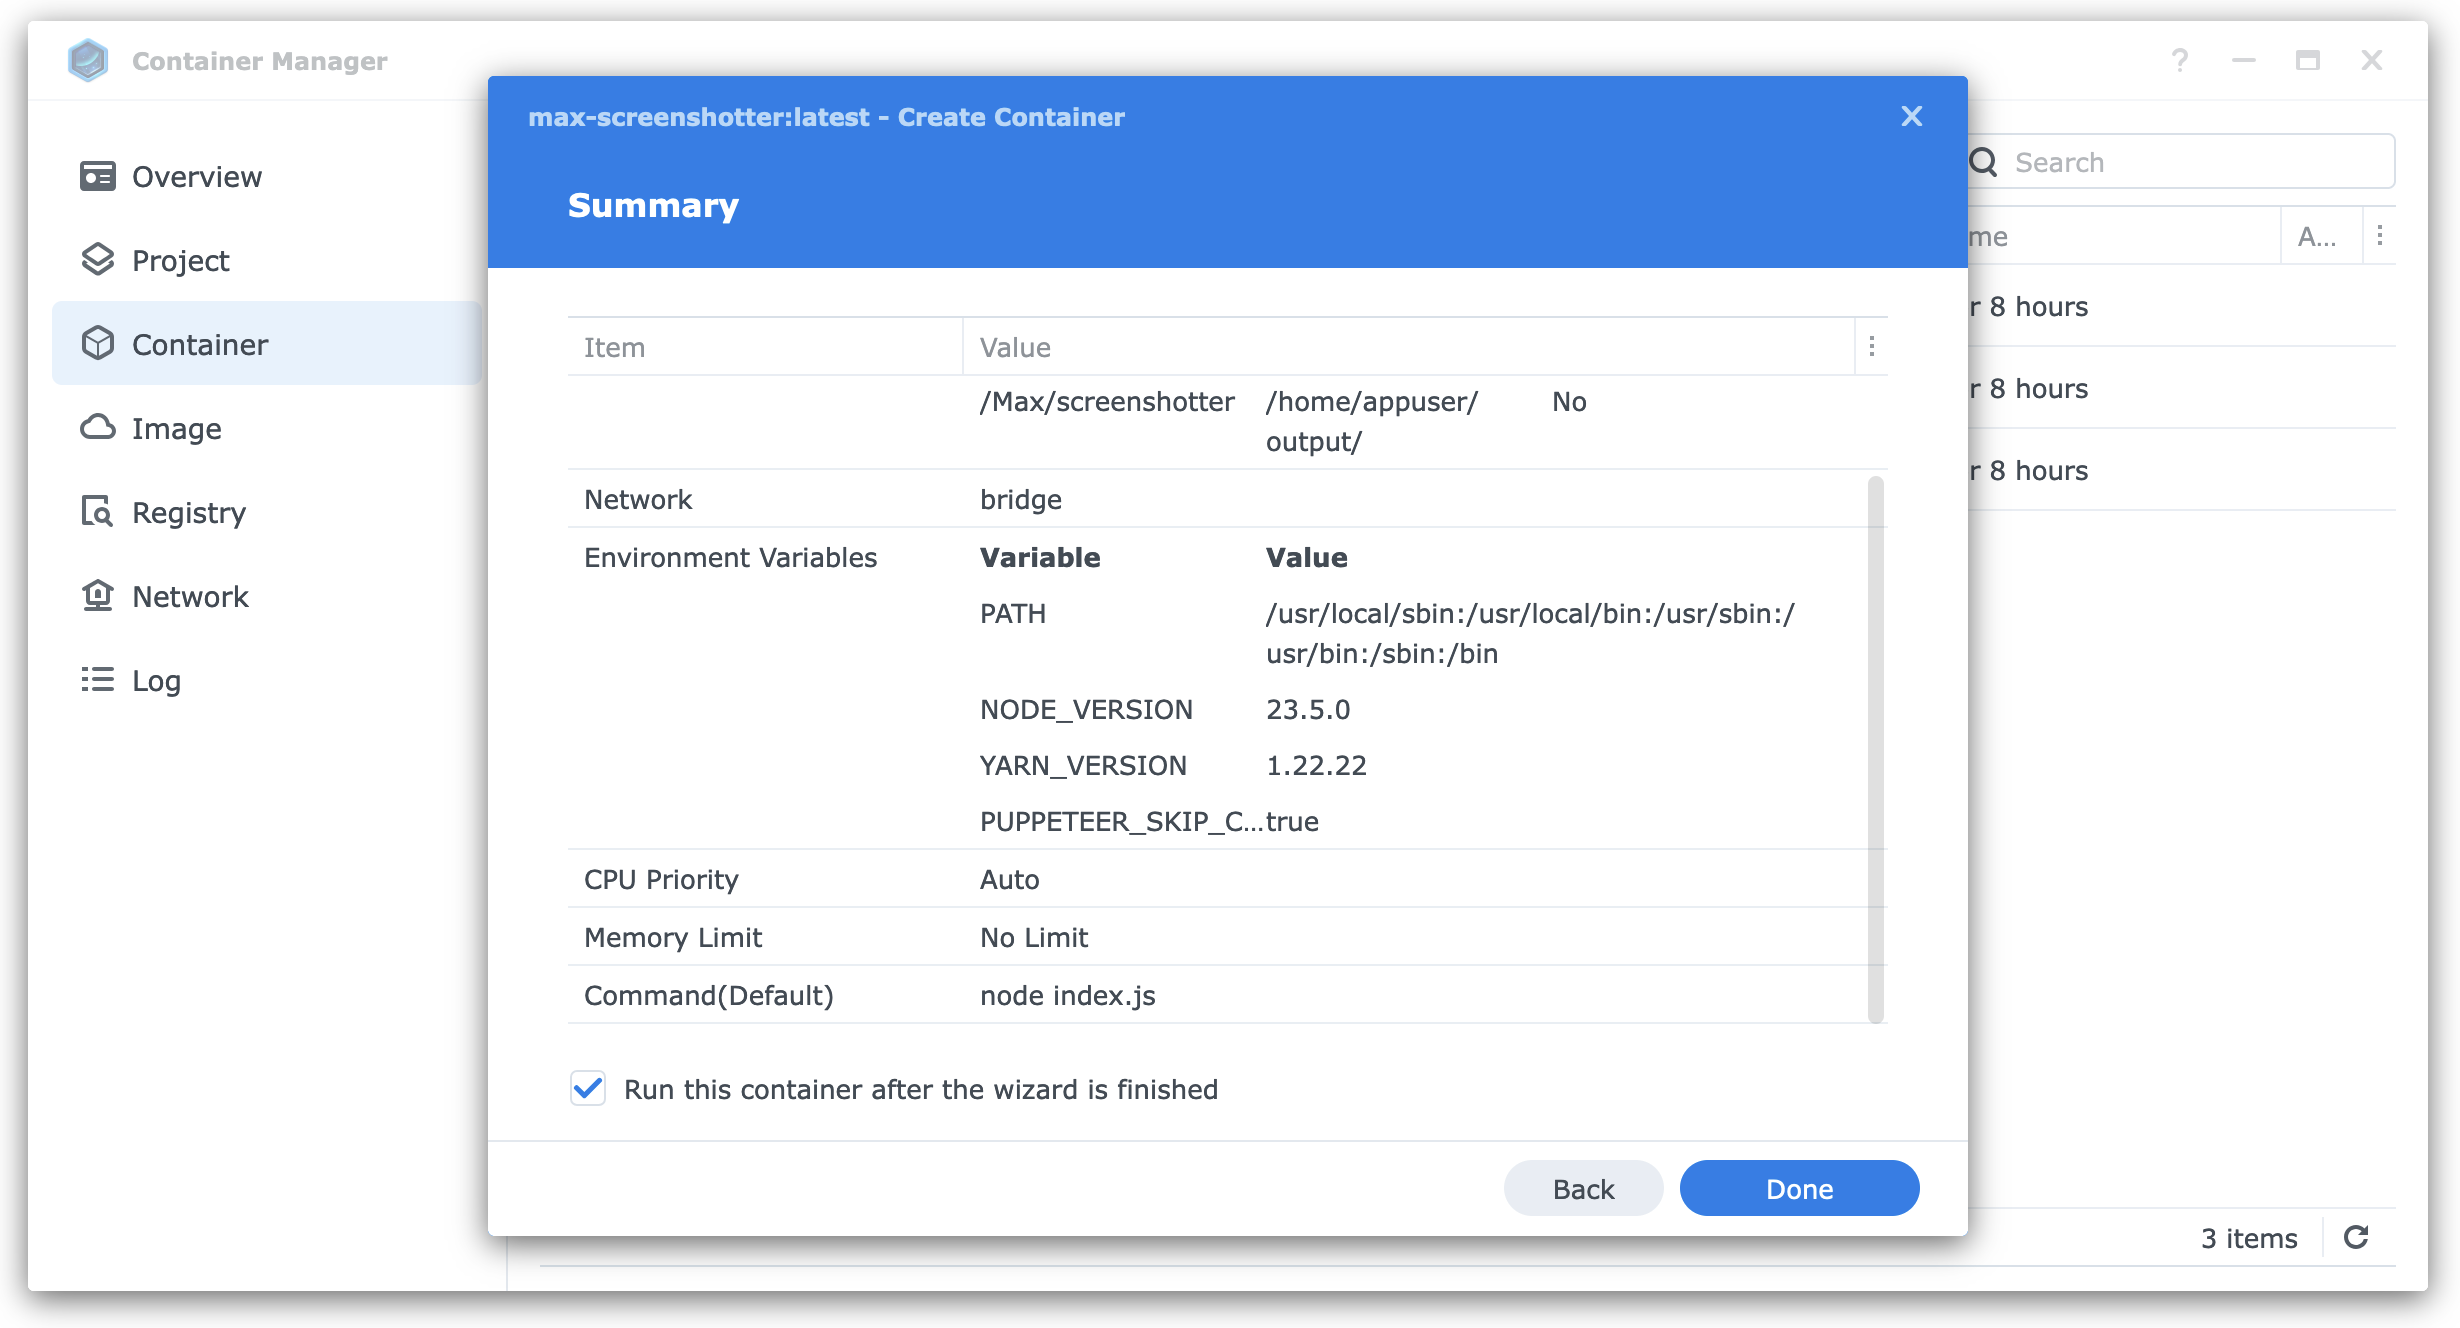
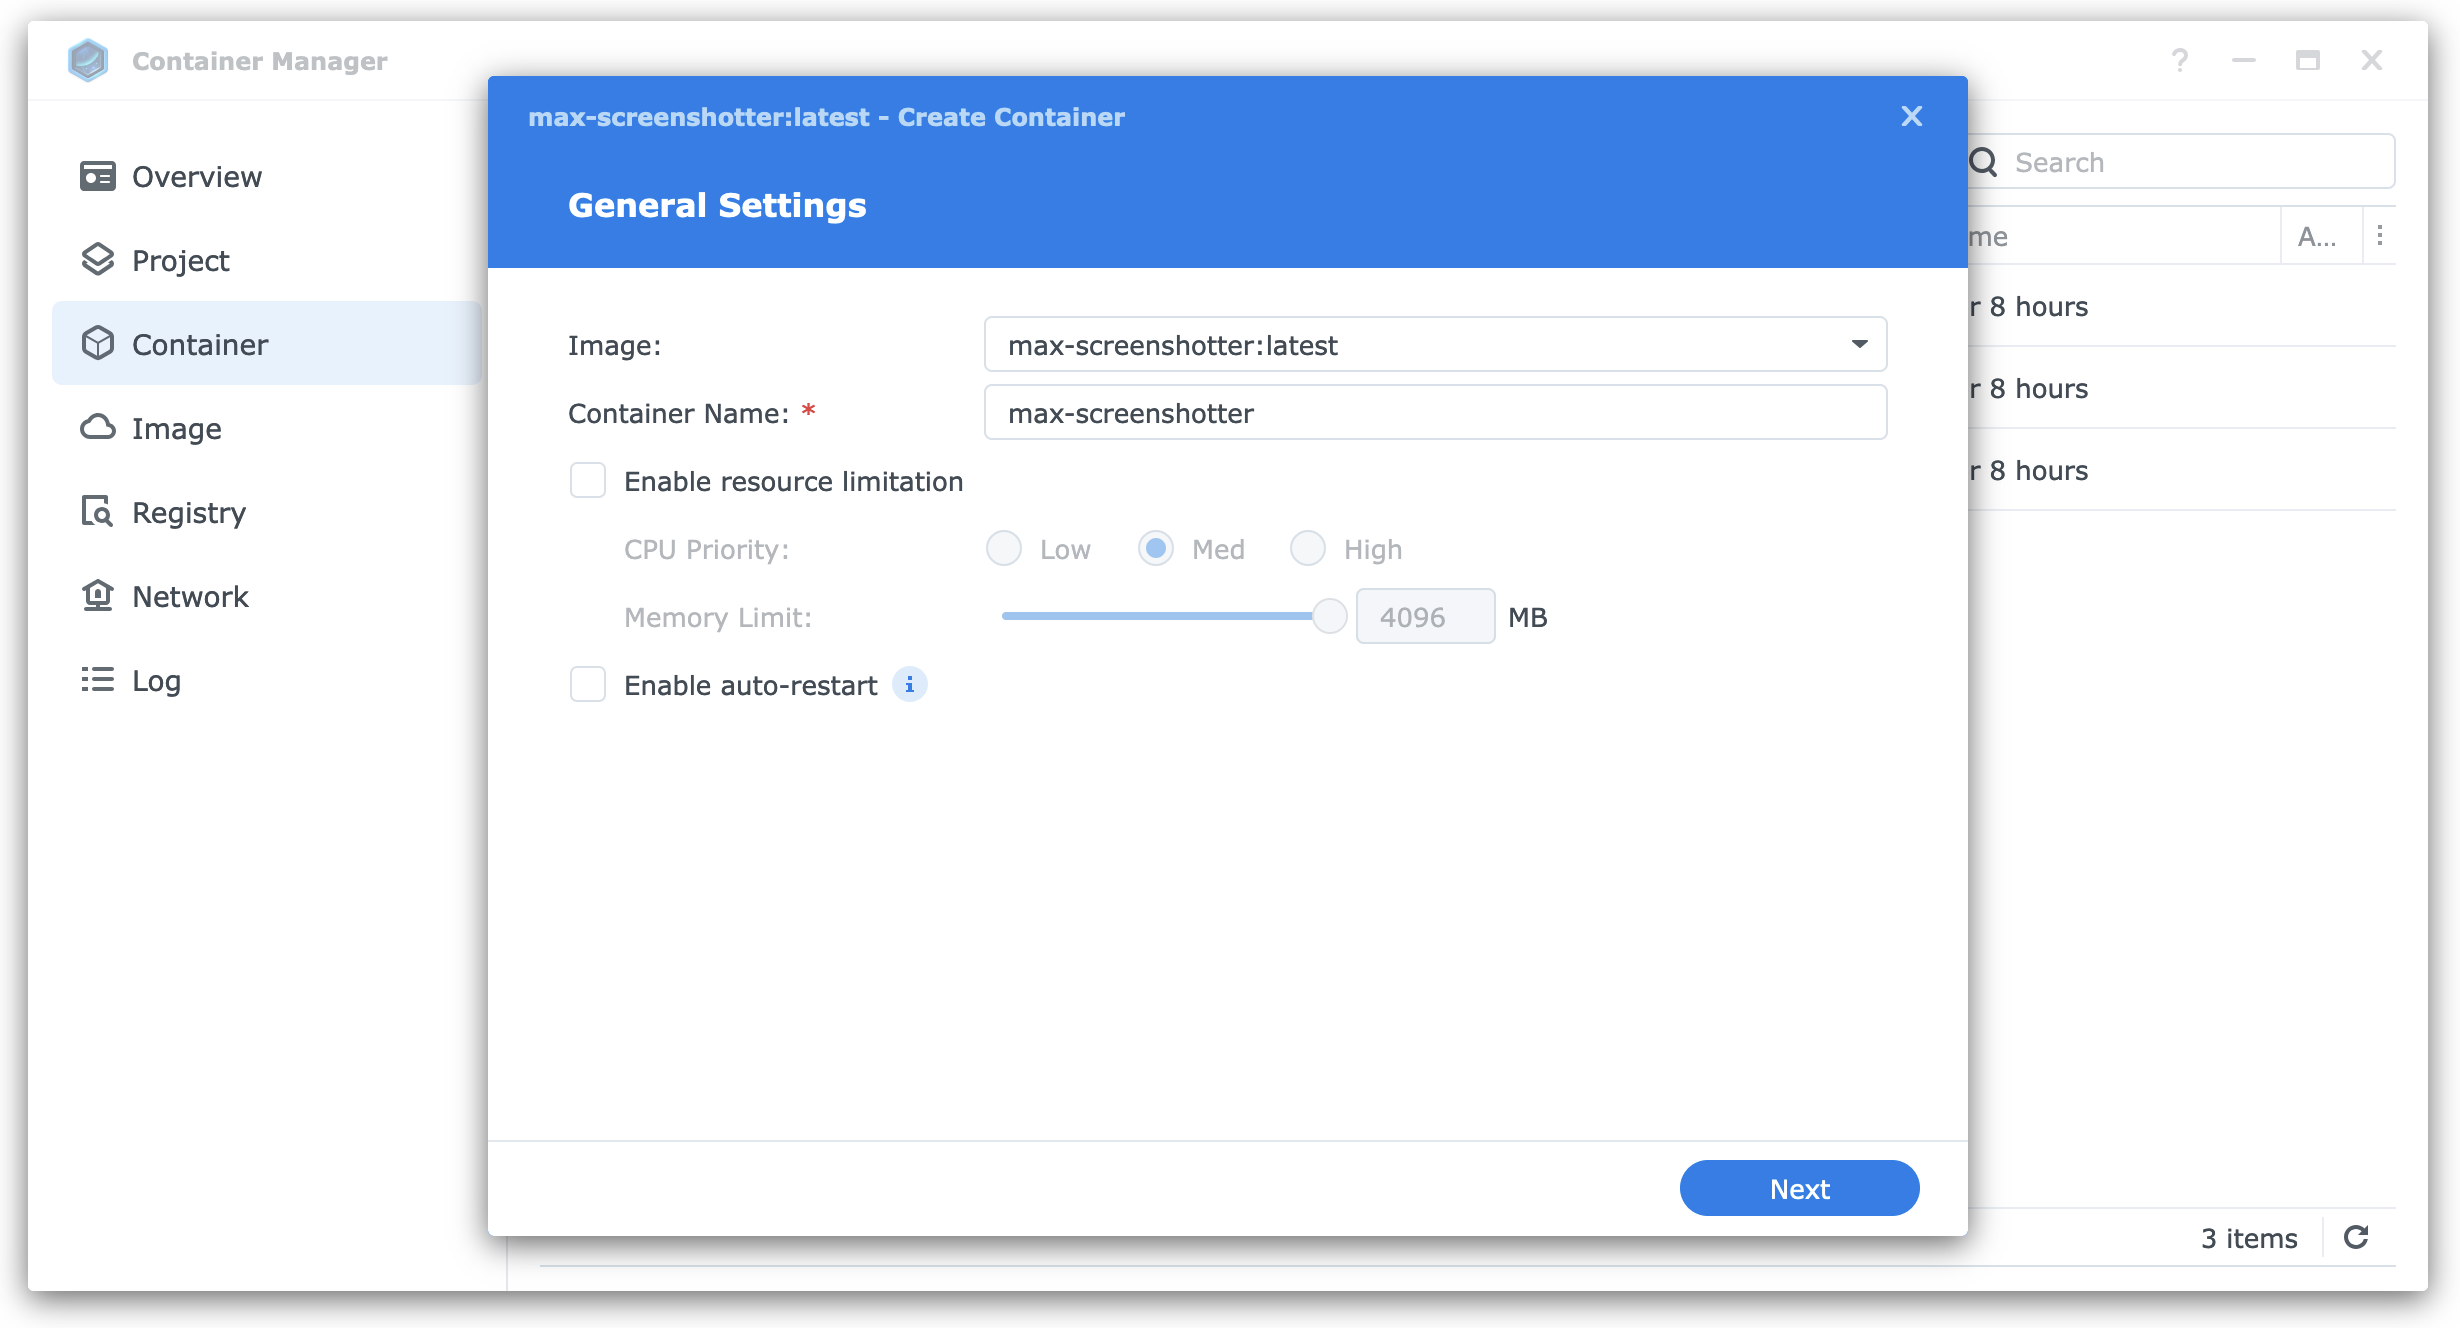
Synology has a built-in tool called Container Manager which we'll use to run our service. It has a bunch of different ways to spin up a container, but the following is the only one that worked for me:
- Upload the image file to the NAS filesystem
- In the web interface, go to Container Manager > Container > Create > Import and select the image. Turn on "Enable auto-restart" so the service will re-launch when you reboot the NAS.
- On the next screen, map the
home/appuser/outputvolume (read, folder) to a folder on the NAS, so the screenshots will land there instead of the container's internal file system.

- Finally, run the container. If all goes well, you should see a green dot next to the container, and screenshots should start appearing in the folder we configured earlier.